
When you're ready to tackle a project like building retaining wall steps, it's essential to approach it methodically. You'll need to select the right materials, design an effective layout, and prepare your site properly. Each step is crucial to ensure the longevity and functionality of your steps. As you consider these aspects, you'll find that the process involves more than just construction; it requires foresight and planning. So, what's the first thing you should do to set yourself up for success?
Selecting Materials
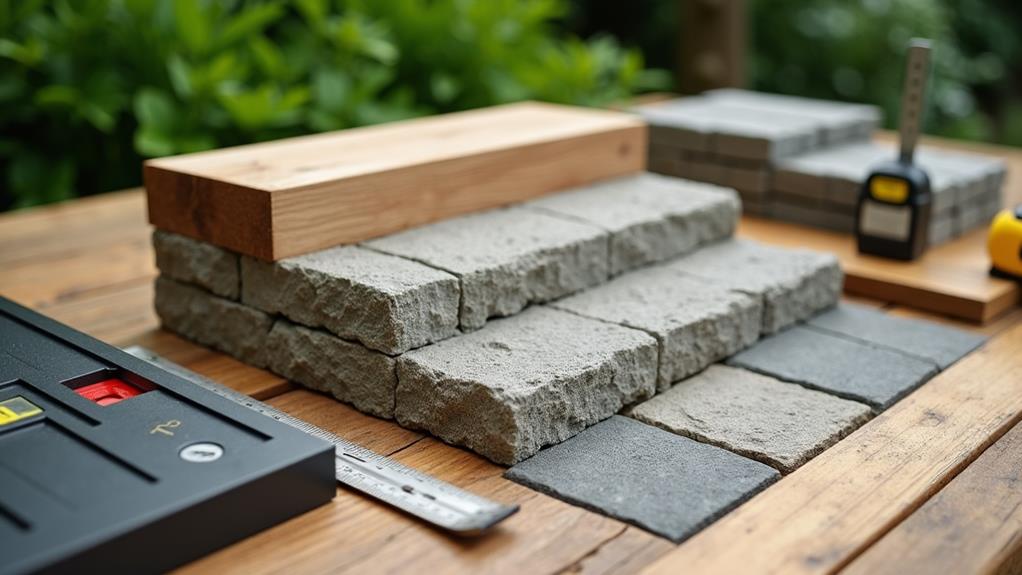
When selecting materials for your retaining wall steps, it's essential to consider a few key factors. First, think about the type of material that'll best suit your project. Natural stone, brick, and concrete blocks are popular choices, each offering a unique look and durability. You want something that not only looks good but also holds up against the elements.
Next, consider the weight of the materials. Heavy materials like stone might need extra support, while lighter ones like concrete blocks are easier to handle.
You'll also want to think about drainage. Good drainage is key for retaining walls, so make sure your materials allow water to flow properly.
Don't forget about color and texture, either! You want your steps to fit in nicely with your landscape. After all, nobody wants a wall that clashes with the garden, right?
Lastly, budget plays a big role. Some materials can be pricey, so it's smart to compare prices before you commit.
With the right materials, your retaining wall steps will be both functional and fabulous, making your outdoor space the envy of your neighbors!
Designing the Layout
With the right materials selected, it's time to focus on designing the layout of your retaining wall steps. You'll want to start by sketching out a plan. Grab some graph paper, or even just a napkin—whatever works!
Think about where you want your steps to go. Picture it in your mind: how many steps do you need? What's the height difference you're dealing with?
Next, consider the width of each step. You want them to be wide enough for comfortable walking, but not so wide that they look like a highway! A width of about three feet is usually a good rule of thumb.
Also, make sure your steps are level. No one wants to trip or feel like they're climbing a mountain. You can give them a slight slope for drainage, but keep it gentle.
Lastly, visualize the overall look. Will your steps curve or go straight? Adding a little flair can make your project stand out.
Preparing the Site
Before laying down any stones, it's essential to prepare the site properly. A little preparation goes a long way, and trust me, you don't want to skip this step!
Start by clearing the area where you'll build your retaining wall steps. Remove any grass, weeds, rocks, or debris. You want a clean slate to work with, so it's like giving your project a fresh haircut!
Next, grab a shovel and level the ground where you'll place your stones. If your area has a slope, you may need to dig deeper on one side to create a flat base. Use a level to check your progress—no one wants wobbly steps!
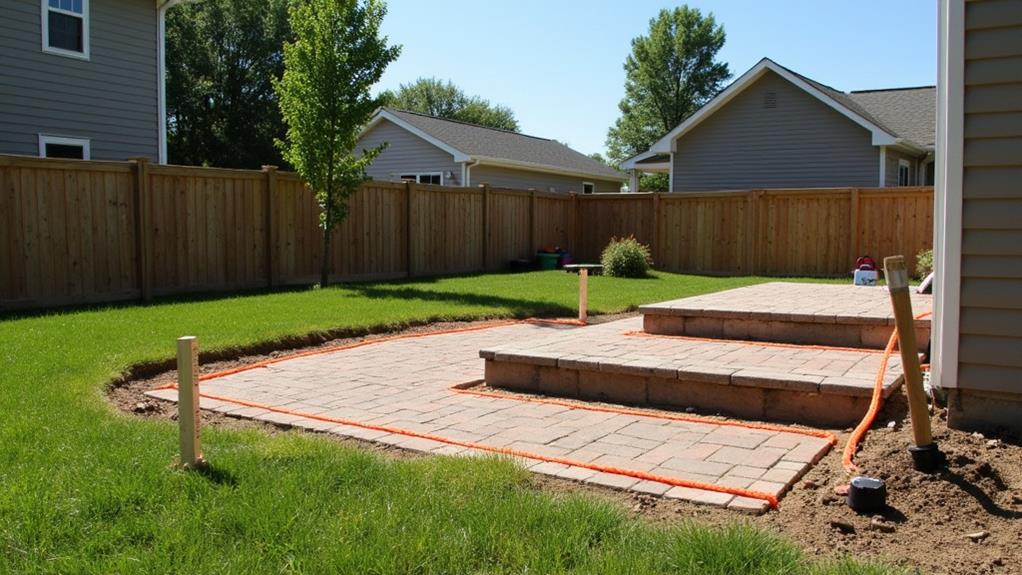
Once you've got that base nice and even, it's time to mark out your layout. Use stakes and string to outline where your steps will go. This way, you'll have a clear vision of what you're building.
And hey, don't forget to check for any underground utilities before you start digging!
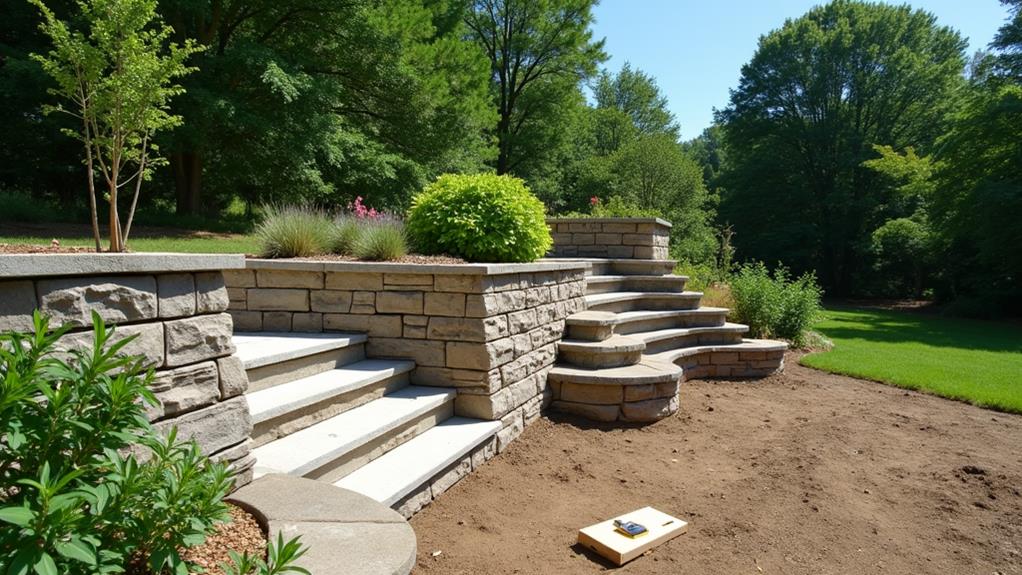
With a well-prepared site, you're ready to move on to the exciting part—installing those retaining wall steps!
Installing Retaining Wall Steps
Now that you've prepared your site and marked out the layout, it's time to start installing your retaining wall steps. First, grab your level and start digging out the area for the first step. You want it to be about six inches deep, so your step sits nicely in place. Don't forget to compact the soil!
Once you've got your hole, lay down some gravel for drainage. This helps prevent any soggy mess later on. Next, place your first block or stone, making sure it's level side to side and front to back. You might've to adjust it a bit—don't be shy to give it a little tap!
After that, stack the next block or stone on top, ensuring it fits snugly. Keep an eye on the level as you go. If your steps are wider, you can add extra blocks for support.
Repeat the process until your steps are complete. It's like building with big Legos, just a bit heavier! Take your time, and soon you'll have a lovely set of steps leading up your retaining wall, ready for all the foot traffic!
Adding Finishing Touches
The final details make all the difference when it comes to your retaining wall steps. You've done the hard work, now it's time to make those steps shine!
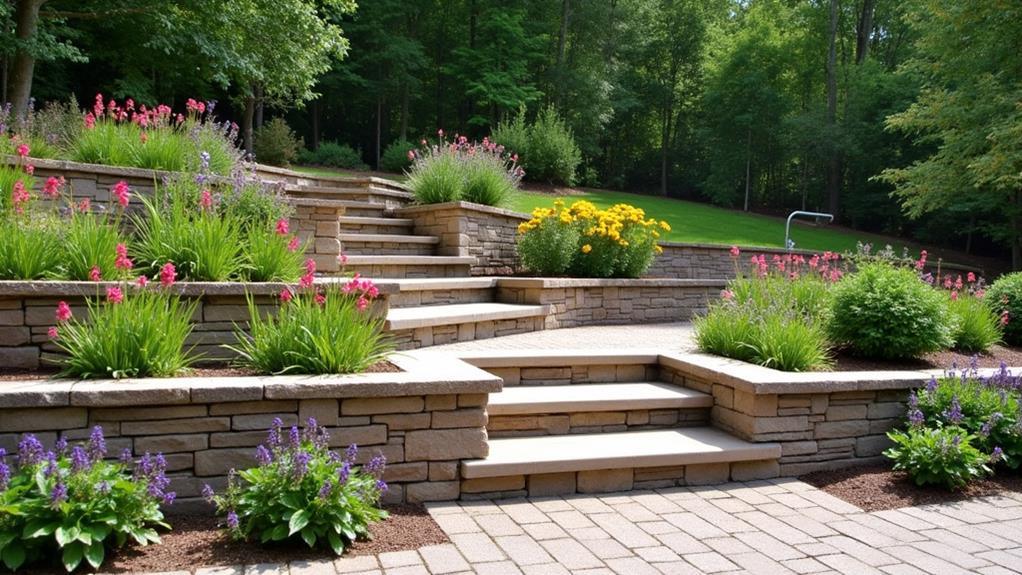
Start by adding some decorative gravel or mulch around the base. Not only does it look great, but it helps with drainage too—trust me, your steps will thank you later.
Next, consider adding some plants. A few colorful flowers or low-maintenance shrubs can bring life to your steps. Just make sure they're suitable for your area's climate. You don't want them wilting away faster than a popsicle on a hot day!
If you're feeling creative, think about adding lights. Solar-powered lights are a fantastic option. They'll illuminate your steps at night, making them safer and more inviting. Plus, they create a cozy atmosphere for evening gatherings.
Lastly, don't forget about cleaning up. Sweep away any debris and make sure everything looks neat. A tidy finish is like the cherry on top of a sundae—it just makes everything better!
Conclusion
Now you're all set to tackle those retaining wall steps! With the right materials, a solid plan, and a bit of elbow grease, you'll create a fantastic feature for your yard. Just remember, it's okay to ask for help if you need it—building can be a lot of fun with friends! Once you add those finishing touches, like lights or plants, your hard work will shine. So grab your tools and get started; you've got this!